
Blog
DESIGNS WITH CADENCE STENCIL TEMPLATES
Cadence stencil templates are a special product whose patterns in different sizes can be applied indoors and outdoors, on clothes, canvas and many surfaces.
Cadence stencil’s tile and vintage patterns, flowers, butterflies, birds and many other motifs can be used on clothes, furniture, walls, floor tiles and many other surfaces.
What is Cadence Stencil and What does it do?
Cadence stencil templates create a distinctive image on surfaces by applying pre-designed patterns with paint. They are designed to be used on a wide variety of surfaces. It is generally preferred for home decoration, artwork or DIY (Do It Yourself) projects.
These stencils come in different patterns and sizes. Patterns in the desired quantity and size can be created with different paints or relief paste without limiting the creativity of the practitioners. In addition, stencil stencils are easily applied to surfaces and drying time varies according to the type of paint applied.
Stencil stencils are usually used with stencil spray and the stencil can be used many times with the spray sprayed once on the stencil. The stencil can be cleaned with soap and water and stored.
Which Paint is Stencil Applied With?
Any kind of acrylic paint can be used. Relief paste can be preferred for a textured look.
Painting Techniques with Stencil: How to do it step by step?
After choosing the template suitable for the product to be designed and after the stencil adhesive, paint and brush, pompom, spatula, etc. After the materials are prepared, the following steps are applied:
1) Preparation:
- The surface to be painted is cleaned.
- If necessary, the surface is sanded and primed.
- Spray adhesive on the back surface of the stencil to be applied from an arm’s length distance (about 30 cm).
- The stencil is adhered to the surface to be applied.
- The paints to be used are shaken and a small amount of paint is poured into the pallet or selected container.
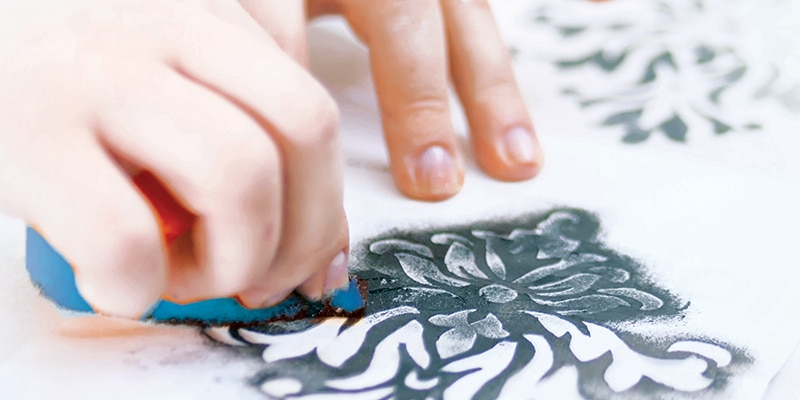
2) Application:
- Paint is applied on the stencil with a stencil brush or sponge.
- Paint is taken vertically with the stencil brush.
- A very small amount of paint is taken. The excess paint is removed by pressing lightly on a paper towel or piece of cloth.
- There should be a small amount of paint on the brush.
- Especially if you want to make a color transition on the stencil, you should pay attention to the paint application. After applying separate colors, the colors should be blended together.
- The brush is applied with a tampon movement (by making steep and hard strokes).
3) Stencil removal: After the painting process is completed, the stencil is slowly removed.
4) Drying Wait for the paint to dry completely. This time may vary depending on the dyeing technique and the type of dye used.
5) Varnishing: The desired varnish suitable for the surface you use can be applied.