CADENCE EASY TRANSFER TYPES AND APPLICATION TIPS

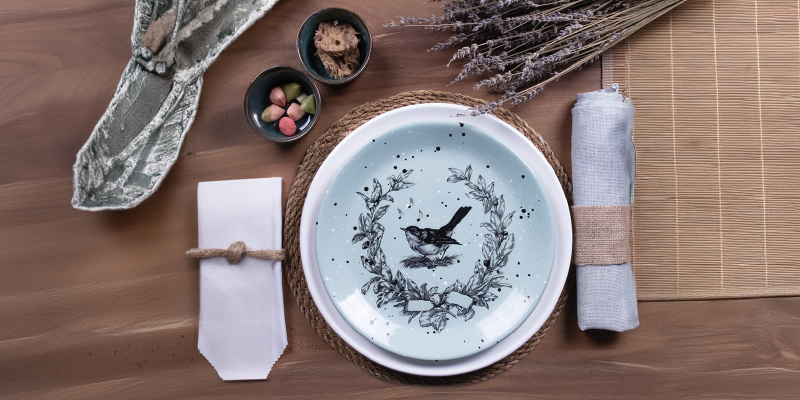
With the Cadence transfer range, unused products can be transformed by transferring them to many surfaces such as wood, glass, ceramic, fabric and polyester.
Using ready-made transfers makes projects quick and easy. The Cadence transfer range offers ready-made and varied options for artists, craft enthusiasts and DIYers.
Easy Transfer and Application Tips
Cadence transfer types can be applied on surfaces such as wood, MDF, glass, ceramic and polyester. The application surface must be white and clean, then it can be applied.
Easy transfer application application steps are as follows:
- The selected transfer model is sized according to the object and unwanted parts are cut off.
- After taking exact measurements, the protective gelatin on the transfer model is removed.
- The transfer is glued to the object upside down, making sure that it is fully placed on the application surface.
- With the help of a brush or sponge, wet the pattern so that it is saturated with water.
- Apply with round movements without pressing.
- Blisters are suppressed with the help of water by making strokes.
- After making sure that the transfer is transferred to the object, wait for 1 minute.
- The paper on the pattern is slowly removed by sliding.
- Remove the excess water on the pattern with a napkin.
- When you are sure that it is completely dry, finish the process by using water-based varnish.
Water Transfer and Application Tips
Cadence water transfer is widely used in DIY projects and home decoration as well as crafts. Watertransfer can be applied to different surfaces (paper, wood, glass, ceramics, etc.) and offers a variety of design options. It is also less complicated than other transfer methods and easily accessible for beginner artists.
The application steps of water transfer application are as follows:
- The surface on which the transfer will be applied must be clean.
- The model is cut out from the transfer template in the desired shape.
- The cut piece is immersed in a container of water at room temperature.
- First, the protective part under the transfer is removed from the water.
- Then the patterns of the transfer are checked for separation from the paper.
- When the edges start to separate from the paper, remove it from the water and place it on the surface to be applied.
- The paper underneath is slowly pulled off by holding the pattern gently by hand.
- With the reverse side of the removed paper, it is ensured that the pattern is well placed by making corrections on the pattern.
- Remove the excess water and air bubbles under the transfer pattern with a napkin.